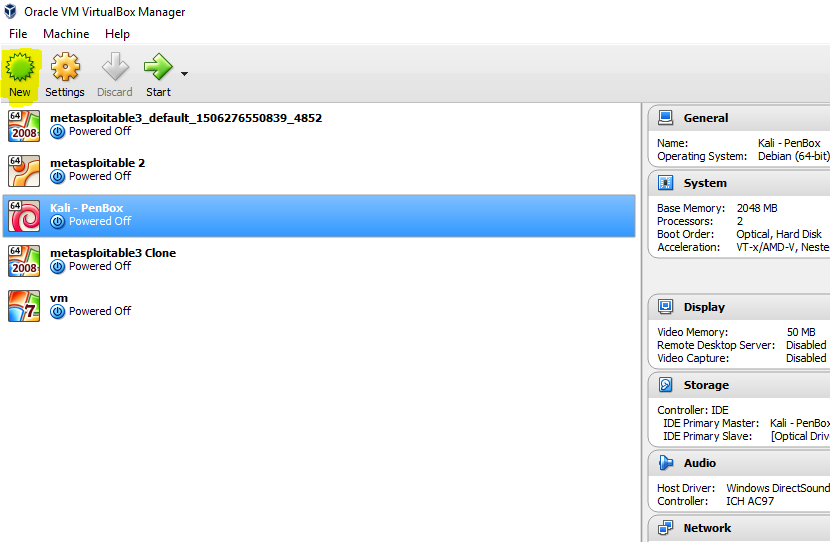
In order to really dig into IT without the worry of destroying your home machine or buying extra hardware it is essential to be comfortable booting up virtual machines. Not only will this allow you to test, but will help you feel comfortable with virtual environments in the corporate arena.
Lets start with the source for the software: https://www.virtualbox.org/wiki/Downloads

- Click on Windows hosts and it will begin the download in your browser
- Once the download is complete run the exe
- Next through the Wizard and Finish
- Run the software
Now we will look at importing an ISO into the Virtual Box software. ISO’s can be obtained from many locations depending on what OS you want to use virtually.

Once you have downloaded the desired ISO open Virtual Box and select New

Name the Virtual Machine in the Name text field

- Select the Type and Version for the downloaded ISO, Next
Memory size depends entirely on what you want to do with the virtual machine, but 2048 is a safe number for most systems.

- Leave the radio button “Create a virtual hard disk now”, create
- VDI, Next
- Dynamically allocated, Next
Slide hard drive space to desired amount and select create

Double-Click on the newly created VM, You will be prompted to browse your system for the ISO that was downloaded earlier

Your Done! That’s all there is to creating a virtual machine in Virtual Box. Feel free to reach out here if you have any questions!